Mars Bar Ice Cream Cones
This really shouldn’t be allowed.

Just a few things to note before you read on.
• These are made with British Mars Bars, I tell you this not because I am particularly patriotic about Mars Bars, but because chocolate / candy / confectionary that may share the same name around the world doesn’t necessarily share the same recipe. It is therefore possible that bars in different countries may behave differently when melted and baked, but I’m hopeful that you will get similar results to mine.
• If you’re not sure what Double Cream is it’s fresh dairy cream with a 50% fat content, in other parts of the world it’s called Heavy Cream. I can’t guarantee that using a cream with a lower fat content, say whipping cream 35%, will whip to stable peaks in the same way.
But enough waffle, let’s get on with it!
INGREDIENTS:
For 8 Cones:
80g Mars Bars
Ice Cream to fill 8 small cones:
80g Mars Bars
160g double cream
HOW TO:
• Heat the cream to boiling point, you can do this is in a microwave or in a pan on the hob.
• Pour the hot cream over 80g of smooshed up Mars Bars.
• Mix the hot cream into the chocolate to melt it to a smooth, runny ganache.
• Put the bowl in the fridge to chill, you can put it in the freezer, but don’t let it freeze yet.
• Melt 80g of Mars Bars for the cones, you can do it in the microwave but do very short bursts of heat, 5 seconds is good - the bars have a very high sugar content and so can burn easily so keep an eye on them. If you don’t want to microwave them you can sit the chocolate in a bowl over another bowl of just boiled water - the gentle heat will melt them slowly.
• Bring the melted chocolate together into a sausage and cut that into 8 x 10g balls. It’s best to weigh each ball for accurate results.
• Cut 2 oversized squares of non stick baking paper and put on a baking sheet. Press one ball onto each piece of paper and form into an approximate 5cm disc.
• It’s best to bake the cones 2 at a time, so bake the first pair at 175ºc in the middle of the oven for 6 to 7 minutes.
• They will spread and their surface will transform into a mass of bubbles, when the bubbles start to clam down you know they are close to being ready. They will look quite dark but this is down to the chocolate in the bar.
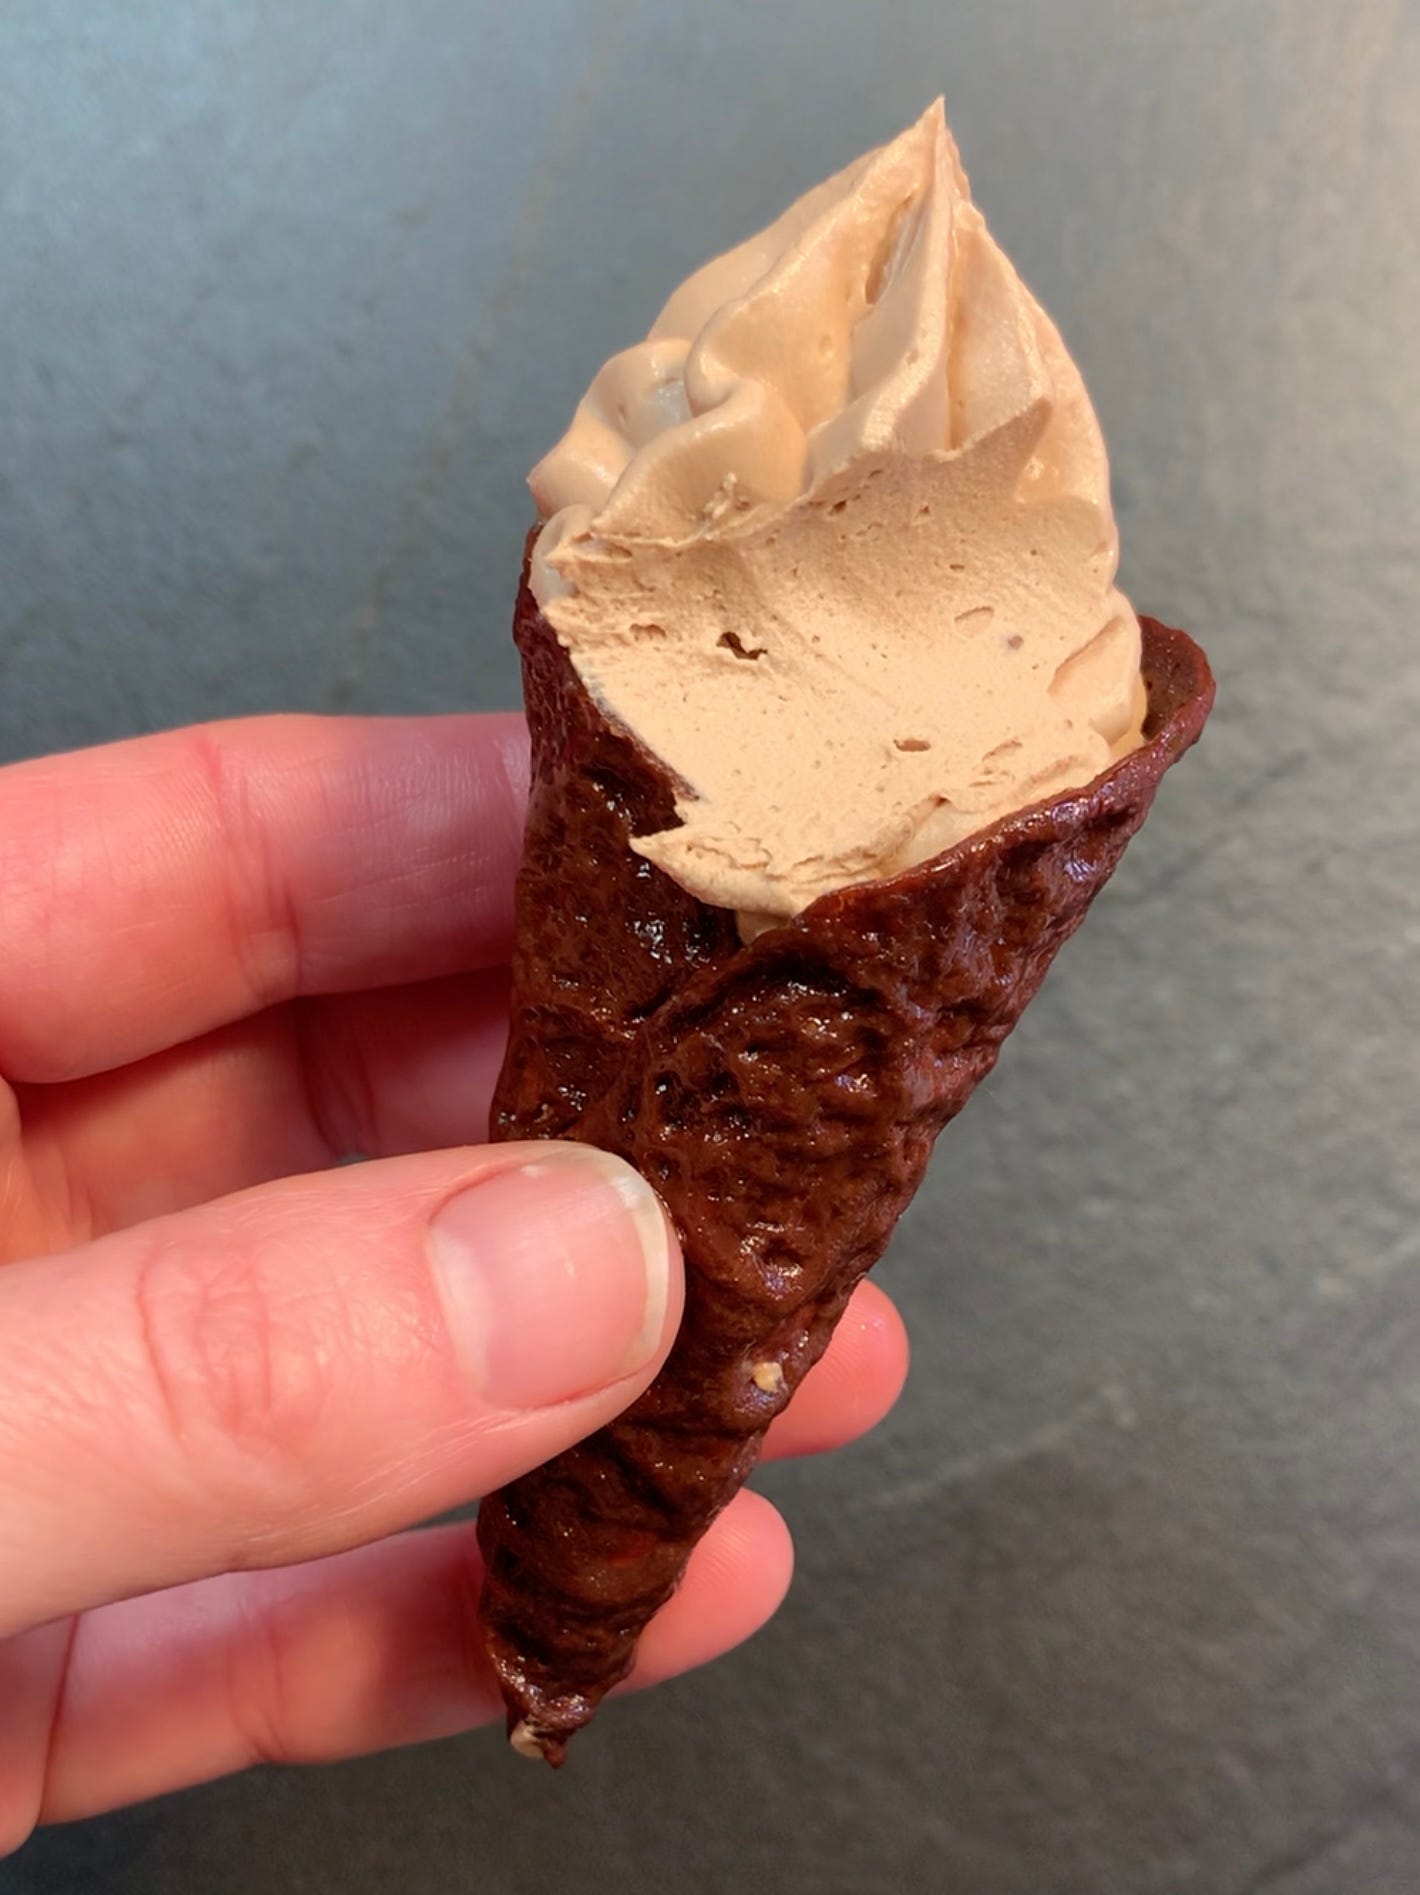
• Remove the tray from the oven, leave one disc on the tray to stay warm and pliable, remove the other disc and working quickly, form it around an ice cream cone former. When the cone has set hard, this will only take a matter of seconds, wiggle it off the former.
• Remove the second disc and form around the cone former. If, at any point the flattened discs are left too long and go too hard to bend just put them back on the baking paper and back in the oven for a few seconds to warm up and soften. Then try again.
• Repeat until you have made 8 cones.
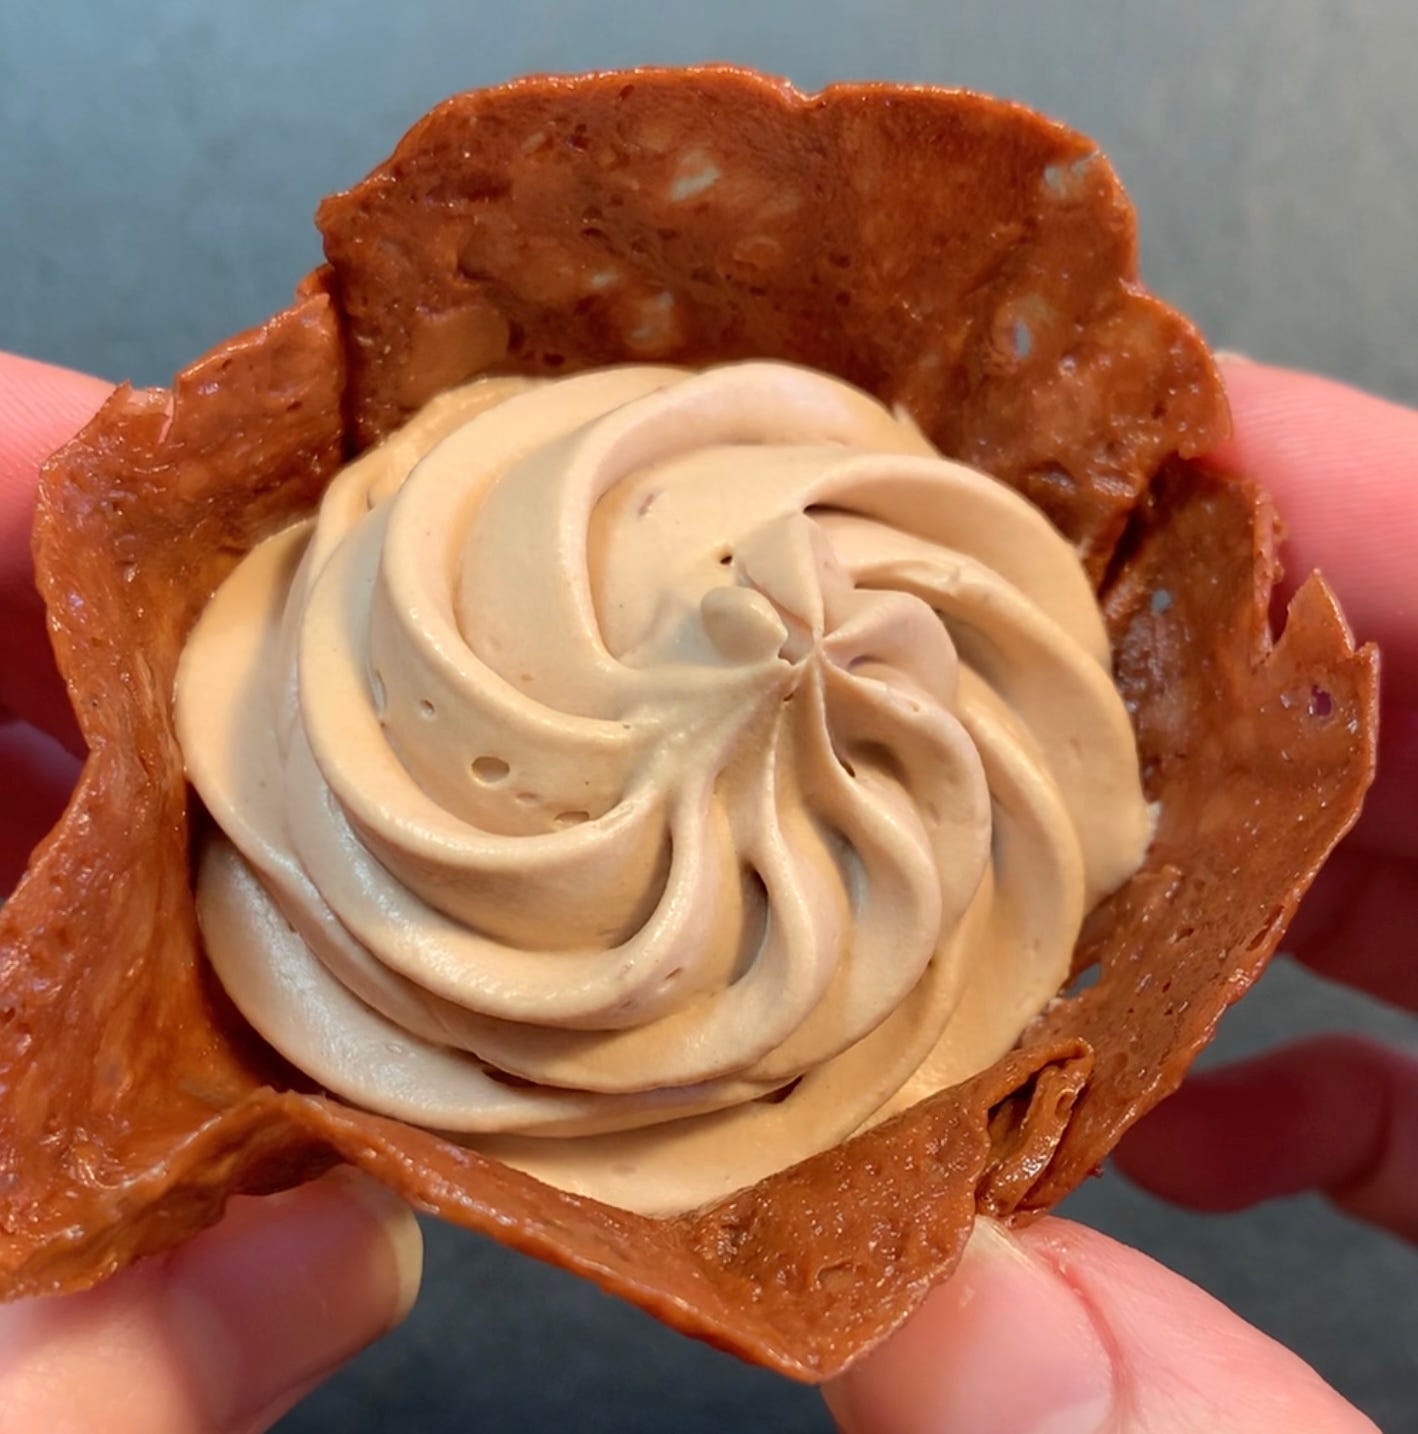
• If you prefer you can make baskets instead of cones, simply sit a 10g disc over a small upturned glass and form.
• If the ganache has chilled enough to be cold to the touch, whip it until it reaches stable peaks and stop as soon as it does. If it gets over beaten it will start to look grainy - it will still taste delicious but it may not be stiff enough to pipe.
• A piping bag is best if you are making cones so you can fill them from the bottom up. If you don’t have a piping bag you can spoon the ice cream in, this is easier if you’ve made baskets.
• Then freeze the cones or baskets for at least 2 hours, 4 is even better so they’re are really frozen.
• Tuck in, but just mind out for the ice cream headache!
Tat x